
To configure your HP printer now, Start a Chat or give us a call.


Follow our step by step guide
1
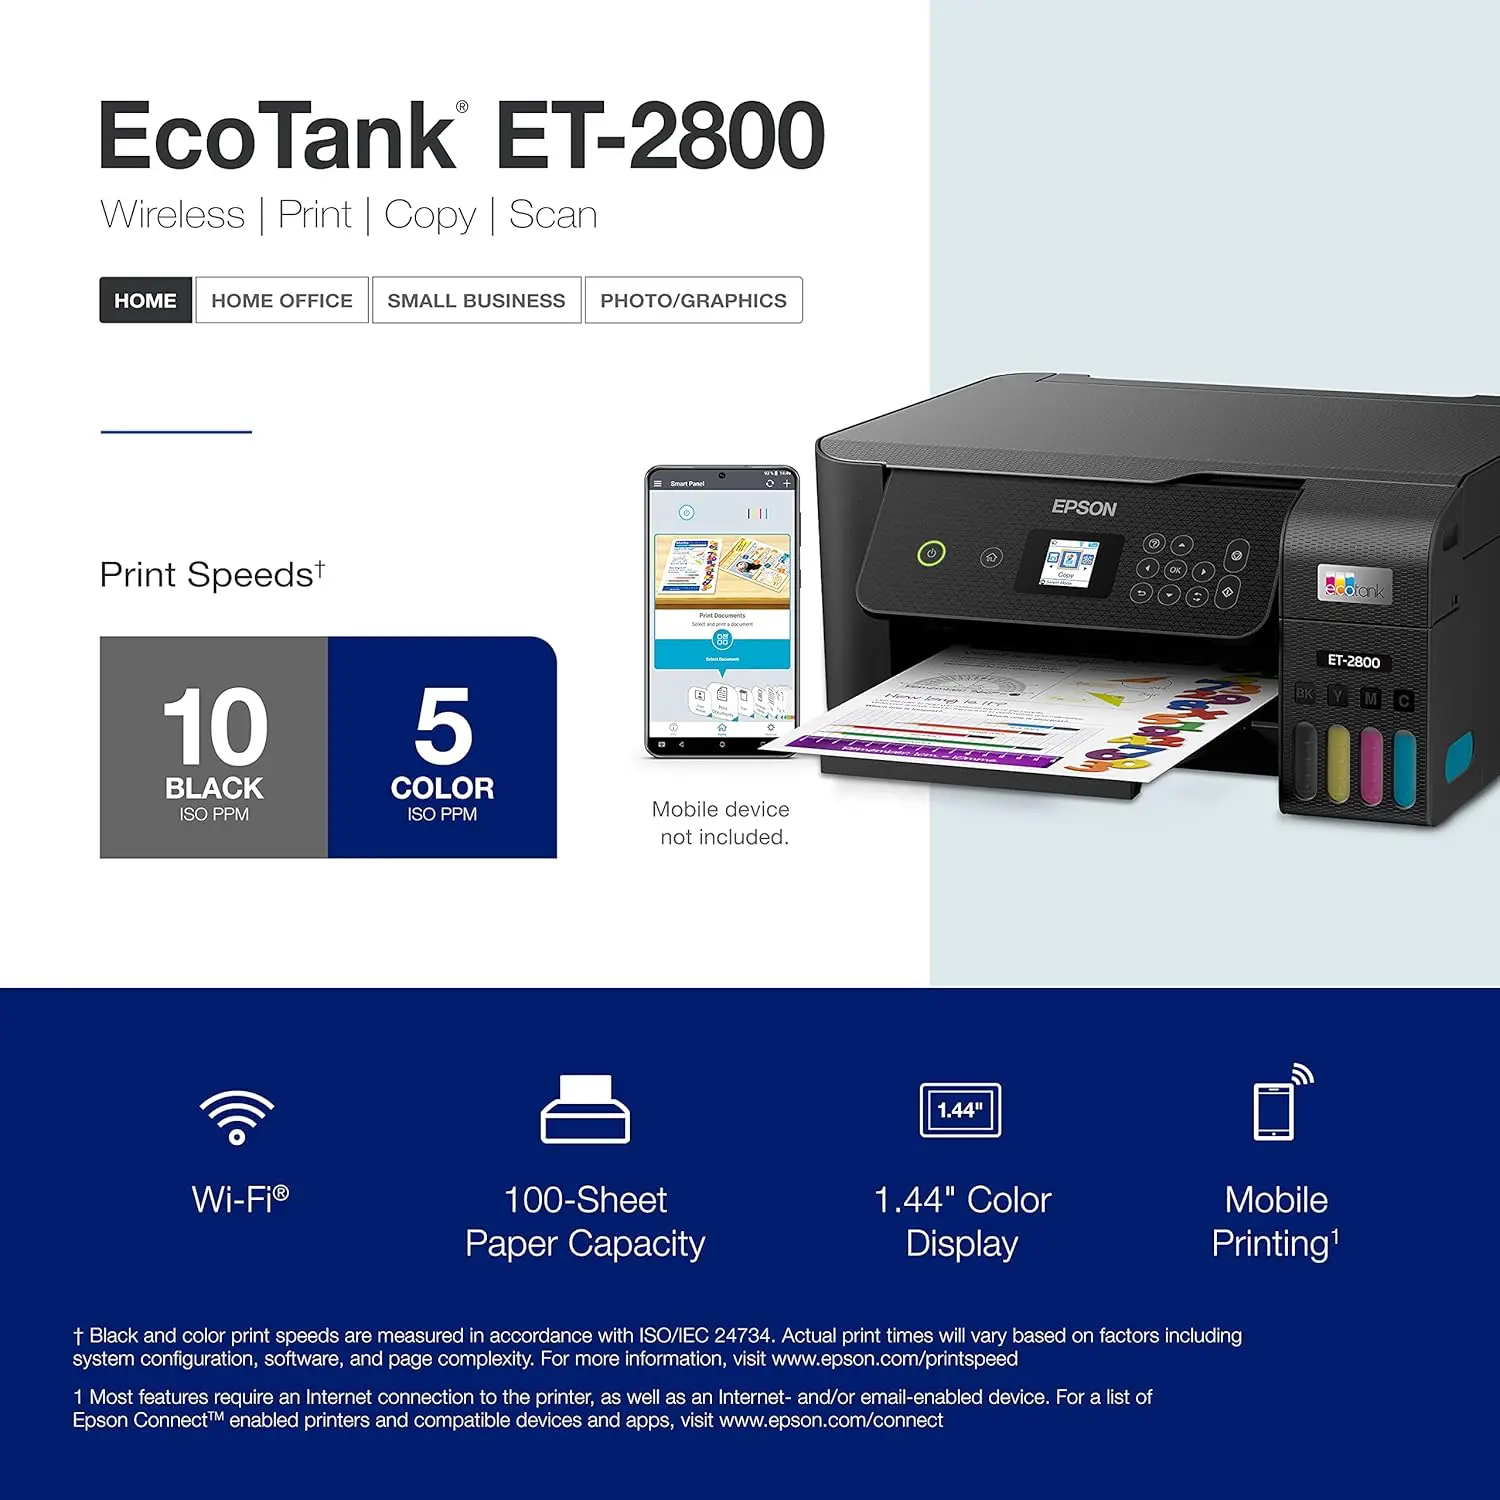
Unpack and Prepare the Printer
- Get rid of the packaging and tapes.
- Connect the power cable and turn on the printer.
- Install the ink cartridges and ink bottles following the directions.
⚠️ Important
Make sure all protective packaging has been removed and the cartridges are correctly installed.
2
Load Paper
- Open the tray to paper or the feed slot in the rear
- Make sure the paper guides be in line with the size of the paper
- Incorporate the paper and then close the tray.
3
Install the Epson Smart Panel App
- Install and download the Epson Smart Panel application on your tablet or smartphone
- Make sure your gadget is hooked up to the Wi-Fi network that you would like your printer to join.
📱 Download Links
Available through the App Store and Google Play, and Epson's official site.
4
Connect Your Printer to Wi-Fi
- Open the Epson Smart Panel app
- Follow the instructions to detect and then add your printer.
- Select the Wi-Fi network you want to connect to and enter the password.
- Follow the setup procedure through the application
5
Other Connection Methods
🔒 WPS Setup
- Click the WPS button on your router.
- Touch the Wi-Fi button in the printer's panel.
- The printer will automatically connect to the network.
🔌 Wired (Ethernet)
- Use with an Ethernet cable to connect the printer with the router.
- Check that the printer is showing the status of a network connection
🔗 USB Connection
- Connect an USB cable between your device and the computer
- You can download Epson printer drivers, if not already installed.
6
Reset Network Settings (If Needed)
- Printing from the printer click the Home screen.
- Navigate to "Setup" > "Restore Default Settings"
- Choose "Wi-Fi/Network Settings" to reset the connection options
🔧 Troubleshooting
You can use this option if experiencing difficulties connecting or you want to re-configure your network.
🎉 Setup Complete!